
Are you thinking about building an RV yourself? You’ll find plenty of tips and advice here. I also keep track of mistakes I’ve made and pitfalls to avoid. Hopefully, this will help other aspiring RV builders get started on their projects. Building your RV is a great way to save money and customize it to your needs. Plus, conversion van builders are a lot of fun. With an RV, we could go on long weekends and even day trips without worrying about where our RV would end up.
Remove Rust
 The first thing to do is remove rust spots. The only way to stop the rust beetle is to replace the rusty parts. However, this can be expensive and sometimes requires special equipment. You can save time and remove as much rust as possible. Then use putty to shape and repair the body. Use high-quality putty and several grades of sandpaper to match the surrounding paint. The final product will be well worth the time invested. After touching up the rust spots, we decided to repaint.
Since we couldn’t justify the cost of a new coat, we opted for the Rustoleum roller. The paint costs about 25 PS for five gallons but can be thinned with white spirit. The paint is durable and can be used for miles. We were able to paint the entire van with only three coats from one can. However, it leaves a great finish when using the glossy sponge pads.
Design the Living Space
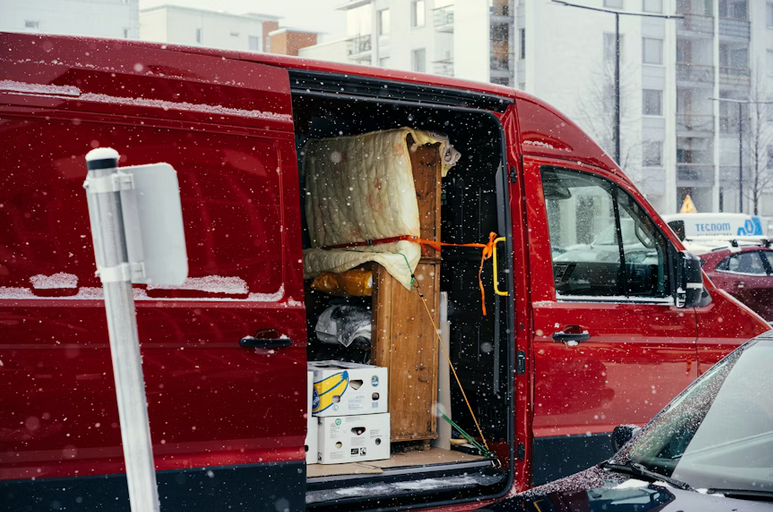
 The living area of the van could use some refinishing. We measured the van and searched the internet for interior design ideas. We took inspiration from various vans. Google SketchUp, a free program, was used to design the interior of the van and create a construction guide. I had to remove all the existing woodwork that was covered in oil from the previous owner’s dirt bikes. Some cracks in the plywood floor needed to be welded. It was a tedious task that I had to drag out as the weather changed and it rained. The cracks were quickly welded and a new plywood floor was assembled once I got started. I was able to draw the design on the wood floor with a marker and then follow the plans.
Customize the Looks
The car was starting to look more like an RV. It wasn’t the best idea to move on to the next phase. Although I should have finished the roof first, I decided to move forward with building the bathroom and adding a rear wall. We made some minor changes to the original design because we thought a full-length closet might make it too claustrophobic on the back wall. We decided that a box arrangement in the ceiling would be more efficient and could serve as a table.
Decorate the Camper
It was a difficult decision to decide how to cover the walls. I had a rug in mind, but my wife didn’t want it. It would have been too expensive, she found out later. We decided on wallpaper. This is where we learned a lesson. Dry the wood first, then apply the wallpaper. Then hang it as usual. The wallpaper will fall off the walls if you don’t. I was able to buy a few cheap rolls from Homebase for each PS2. You don’t need that many.
Final Touch
Once the main construction was complete, we moved on to putting the finishing touches on the house to make it cozy. It felt complete once the carpets were in place; everything else was easy after that. Electricity was plugged into the usual household outlets. A 500-watt inverter converted the secondary battery from 12v to 240v. So, standard appliances could be used. It also doubled as a plug-in power cord. If you’re camping, you can use its 240v power supply and save your battery.


 One of the most important things you can do to have a successful camping trip is to plan. This means making a list of what you will need and ensuring that you have everything packed before leaving. It’s also a good idea to check the weather forecast to pack accordingly. This is what many people who have experienced a camping trip gone wrong have failed to do. Planning will ensure that you are ready for whatever happens during your camping trip. It also allows you time to make changes if necessary, which can be especially useful for the weather forecast.
 Ensuring that all of your
  One of the most common mistakes people make when camping is packing too much or too little. It’s important to pack appropriately so that you have everything you need, but don’t end up carrying a lot of unnecessary weight. This means considering the length of your trip, the weather conditions, and the activities you plan on doing. You don’t want to end up packing a bunch of clothes that you won’t need if the weather is hot or bring too many supplies if the trip is only for a few days.